Living on the Edge: Using Vercel’s Middleware and GraphQL

 Lucia Cerchie
Within web development, where and how you execute the code matters in terms of performance. Using two new technologies, Vercel’s Edge Middleware and StepZen, can help your app’s performance. Placing your middleware on the edge will improve the speed of execution. Using a StepZen GraphQL API means that your GraphQL layer will be able to handle more than 5000 requests per second. Let’s see how it’s done.
What is Vercel?
Vercel is a platform for developing and deploying code. It’s compatible with many of today’s popular frontend frameworks but is designed in tandem, so to speak, with the Next.js framework. Recently, Vercel released something exciting in conjunction with Next 12.2: Edge Middleware.
What is Vercel’s Edge Middleware?
First, let’s get clear on what ‘edge’ means in this context. An ‘edge’ is a CDN (Content Delivery Network, or a server that caches rendered HTML pages) located close to the user. A closer location means a faster response time, which improves performance. Vercel released Next.js middleware to smooth out the developer experience of executing code at the edge. Use cases have included geolocation, A/B testing, and authentication.
How Will We Use Edge Middleware?
Today, we’ll start with the code built by following along with Vercel’s quickstart to route a user to a page based on location. (I recommend you follow this quickstart first if you’d like to follow along with the rest of this post). Then we’ll modify it using GraphQL to provide the user with more information on the page.
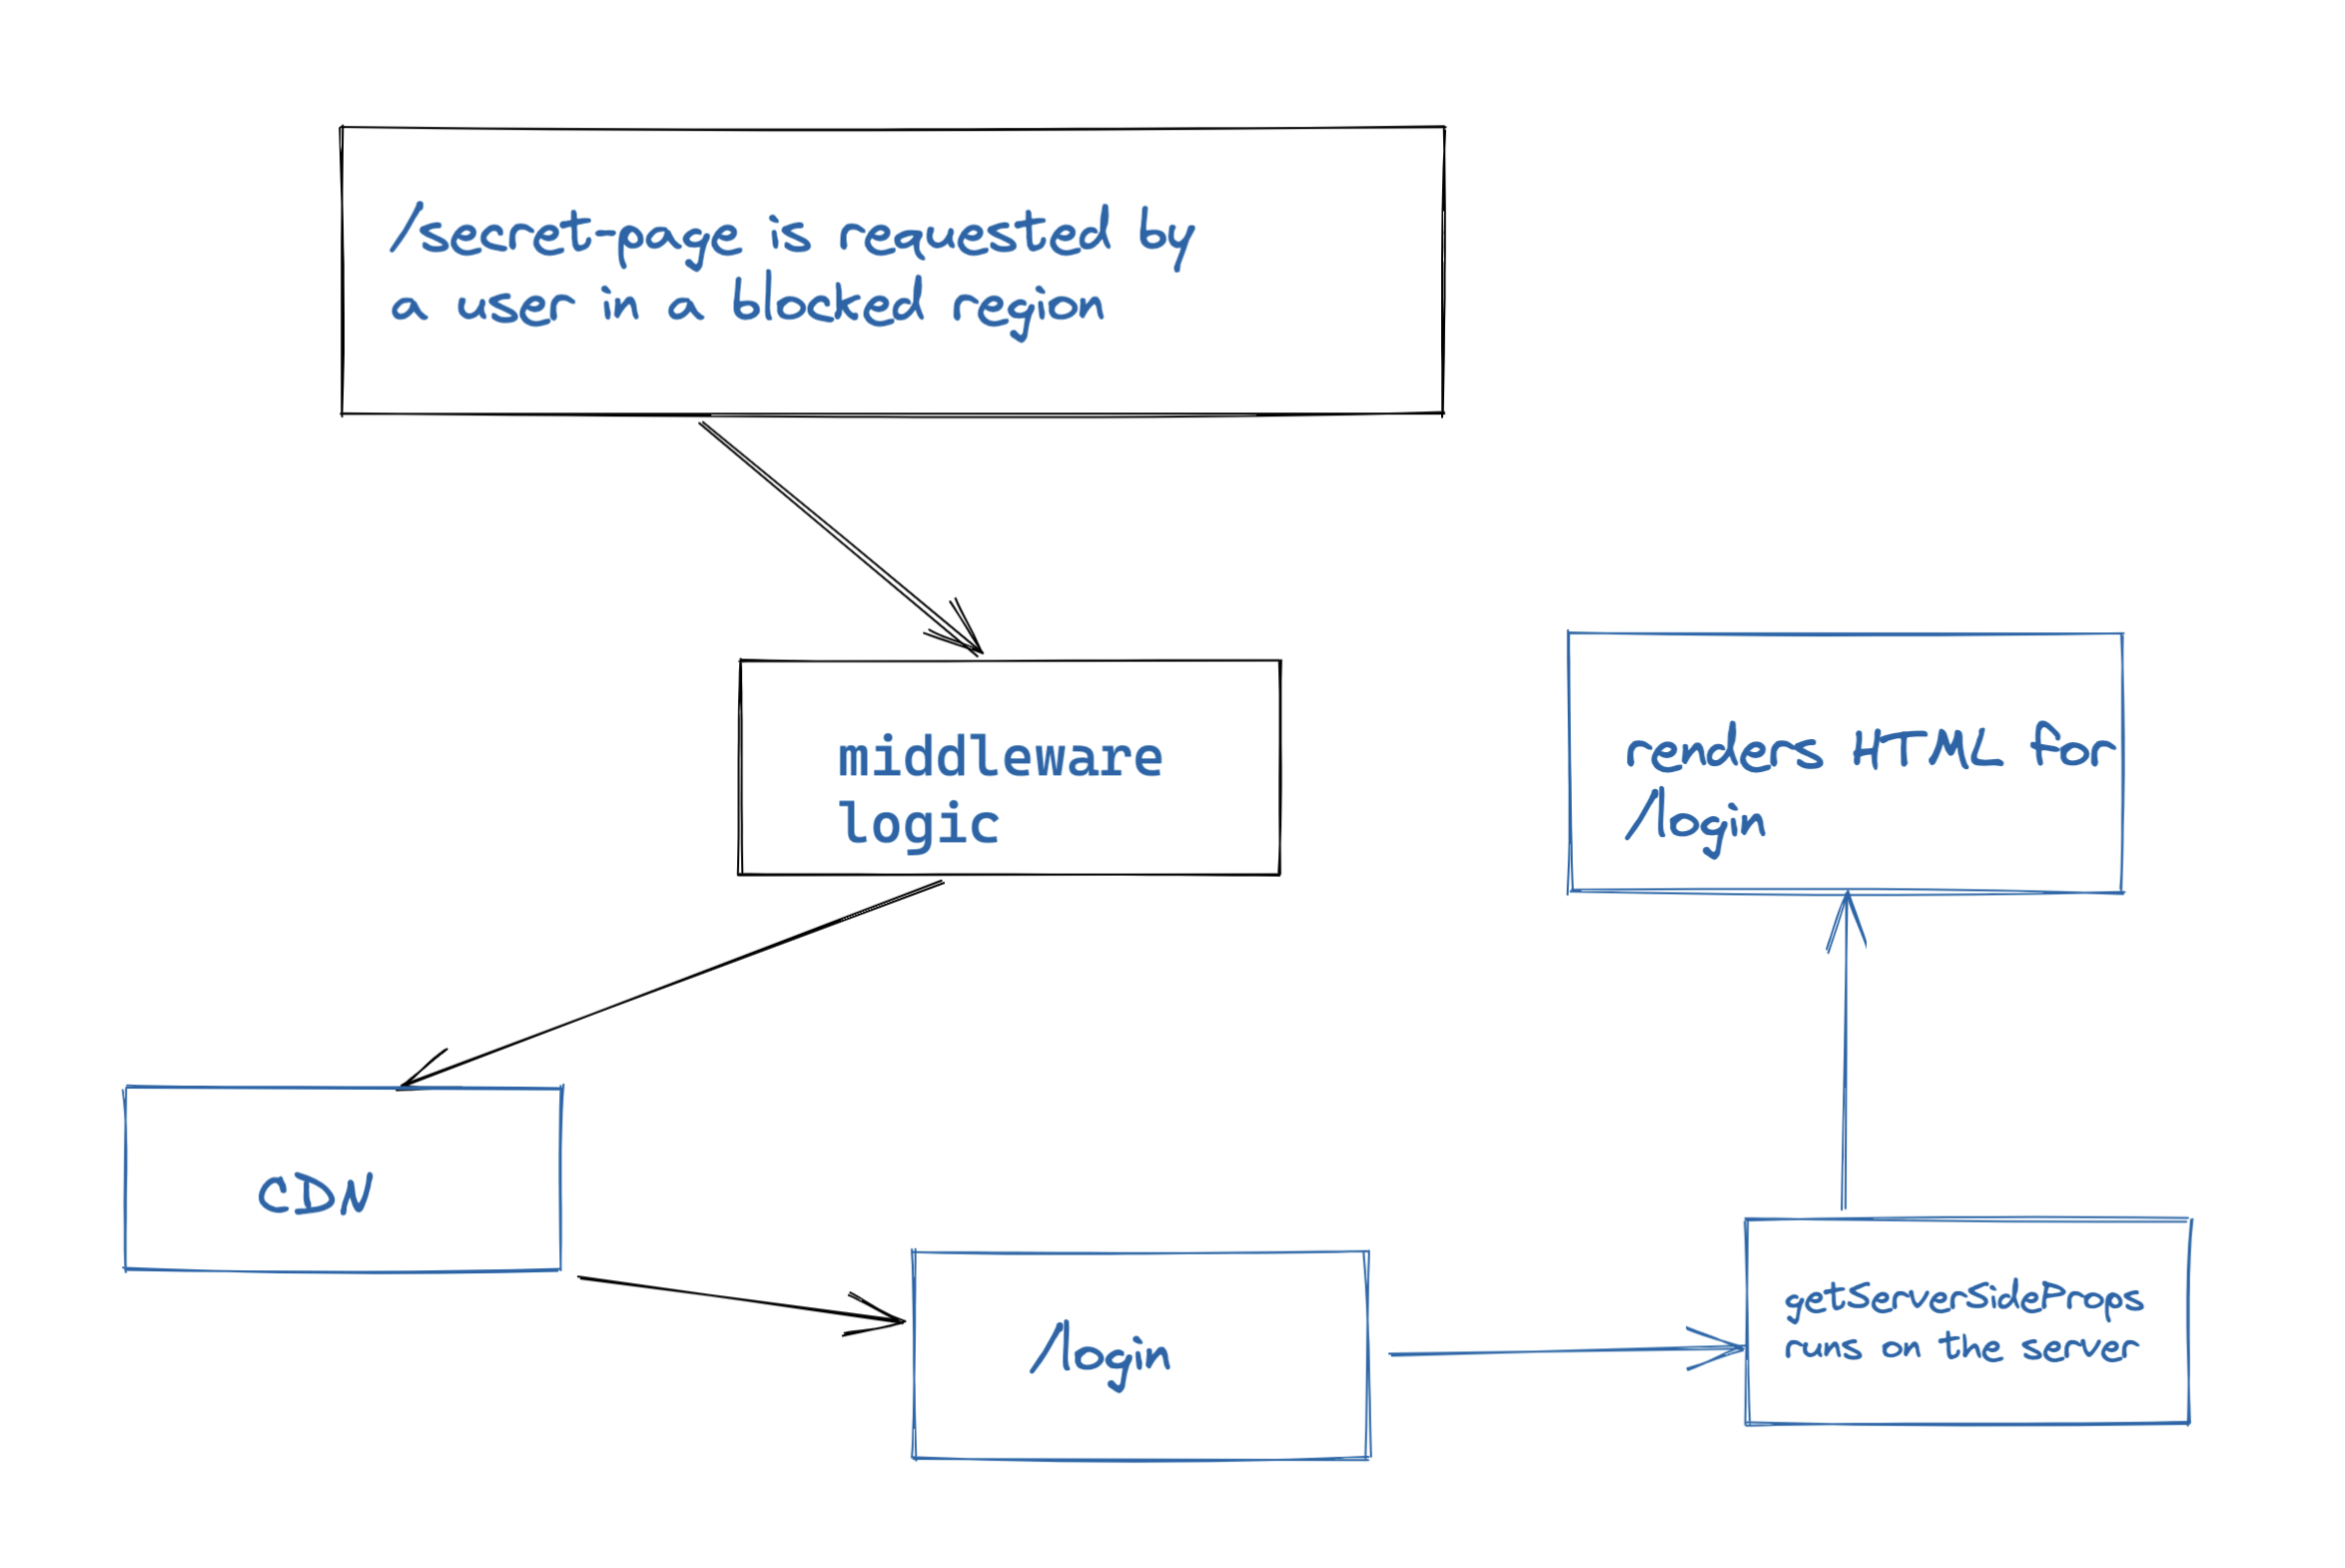
Here’s a map of what will happen. First, the user from a blocked region requests /secret-page. The logic in the middleware is triggered, executing on the CDN. The user is re-routed to the /login page. There, we will use Next.js’s getServerSideProps function to make a call on the server to a GraphQL API hosted by StepZen. Finally, the page is rendered, that is, the React component is converted into HTML for viewing in the browser.
Here’s the boilerplate from the Edge Middleware quickstart tutorial that sets the variables.
// ./middleware.ts

import { NextResponse } from 'next/server';
import type { NextRequest } from 'next/server';

// The country to block from accessing the secret page
const BLOCKED_COUNTRY = 'US';

// Trigger this middleware to run on the `/secret-page` route
export const config = {
  matcher: '/secret-page',
};
NextResponse and NextRequest are objects imported from the Next.js server to implement code execution at the edge. This means that the middleware you create with NextRequest will run before the cache, allowing you to customize the rendered HTML. We’re going to block users from a certain country, in this case, the United States, and we also set a configuration object to run on the /secret-page route that’s been set up using Next.js’s routing. Now for the middleware from the Next.js example.
// ./middleware.ts

export function middleware(req: NextRequest) {
  // Extract country. Default to US if not found.
  const country = (req.geo && req.geo.country) || 'US';

  console.log(`Visitor from ${country}`);

  // Specify the correct route based on the requests location
  if (country === BLOCKED_COUNTRY) {
    req.nextUrl.pathname = '/login';
  } else {
    req.nextUrl.pathname = `/secret-page`;
  }

  // Rewrite to URL
  return NextResponse.rewrite(req.nextUrl);
}
Here, the code that’s running before the cache checks to see the user’s country (default US), then specifies a route based on the user’s country. If the user is from the United States, they’ll be routed to the login page, otherwise, they’ll be allowed to see the secret page. In the Next.js tutorial, the login page is a placeholder.
// pages/login.tsx

export default function Login({data}) {
    console.log(data)
    return (
      <div>
        <h1>Login Page</h1>
        <p>You have been routed to the login page. </p>
      </div>
    );
  }
Let’s add some functionality with StepZen and GraphQL.
Extend The Login Page’s Customization With GraphQL
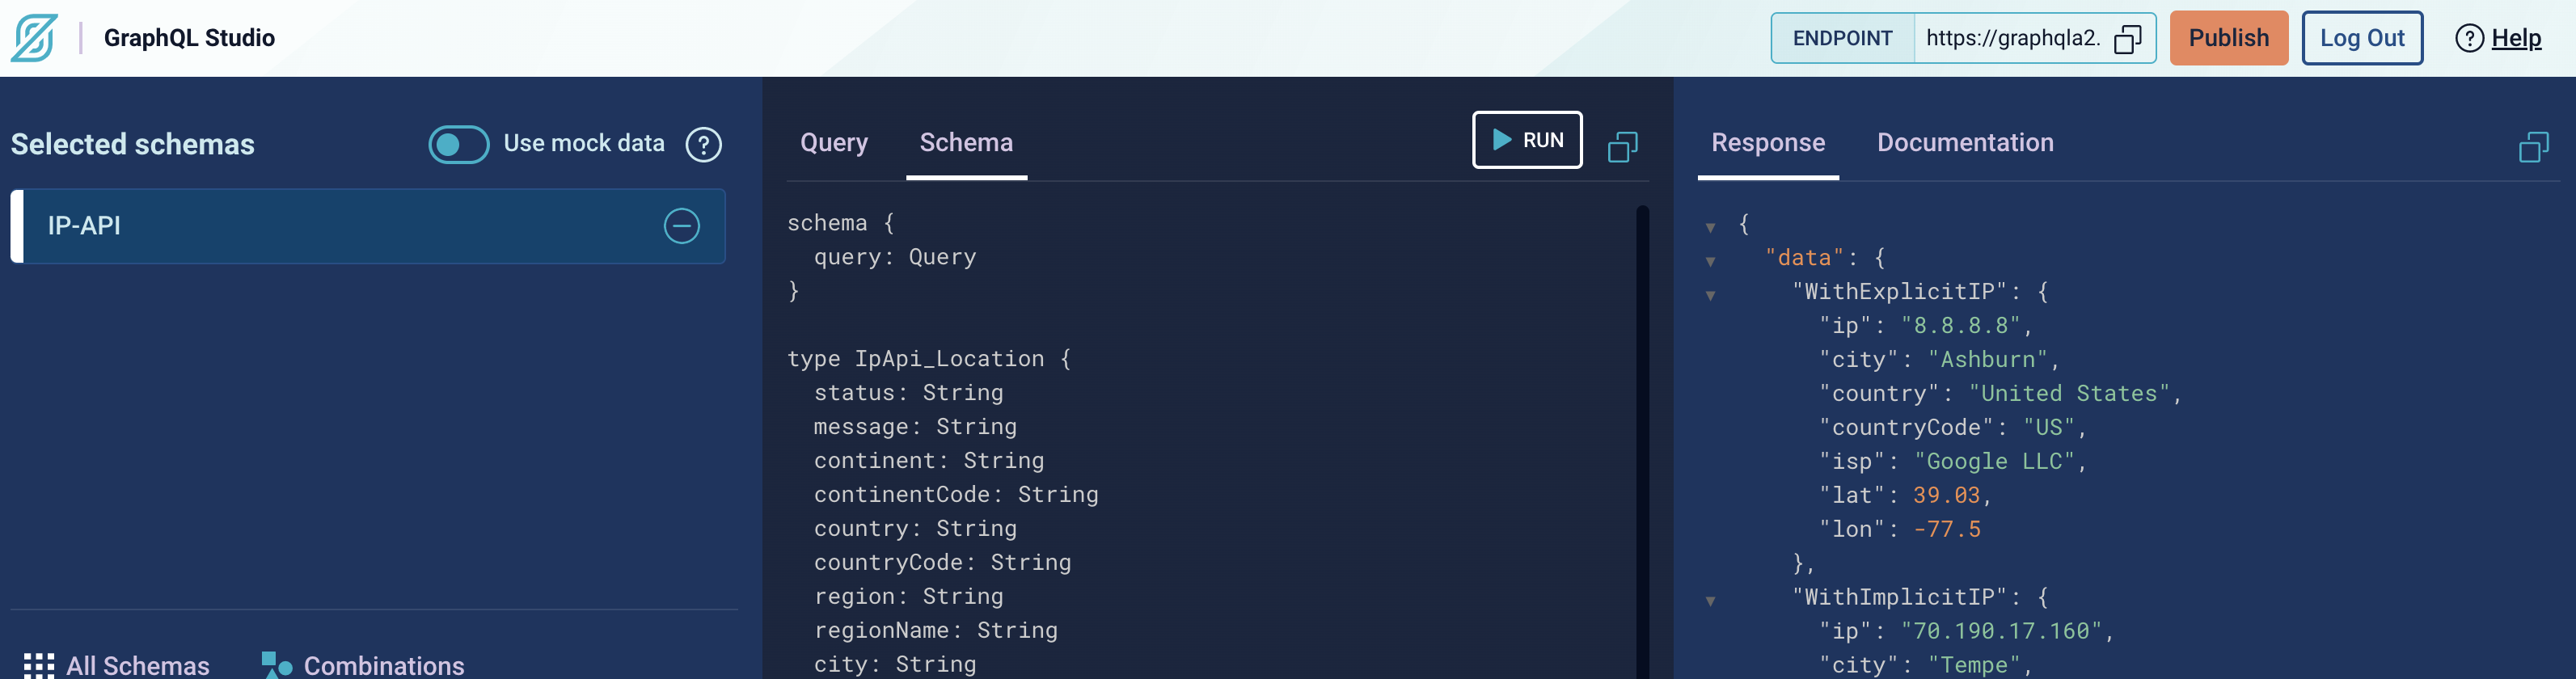
We’ll use the IP-API GraphQL API available in the StepZen GraphQL Studio to show the user their location, to add detail to the message that’s already there, telling the user which country is blocked.
To get started, visit the Studio to see the endpoint we’ll use and get a feel for the data it makes available.
Once you click 'Publish' in the upper right corner, you’ll be directed to the Getting Started page, where you can import the GraphQL API to your folder from StepZen.
Import the folder in the home directory of your Next app.
You’ll end up with a /graphql folder. Navigate to its top level, and run stepzen start to deploy your endpoint!
To consume the GraphQL API we'll use the production endpoint, that looks like https://USERNAME.stepzen.net/api/random-name/__graphql.
To authorize calls to your public endpoint, you’ll need a key. Put it in a .env.
// ./env
STEPZEN_KEY={{PLACE_YOUR_KEY_HERE}}
Now, set these two variables for the GraphQL query and the key in pages/login.tsx
var graphql = JSON.stringify({ query: "query {WithImplicitIP: ipApi_location_Auto {\r\n    ip\r\n    city\r\n    country\r\n    countryCode\r\n    isp\r\n    lat\r\n    lon\r\n  }}" },);
var apikey = `apikey ${process.env.STEPZEN_KEY}`
Next, we’ll make a call to our endpoint inside of a Next.js function called getServerSideProps. This function fetches data and renders HTML on the server, and is triggered when the user requests the page. This means that when the blocked user requests the /secret-page, the middleware function re-routes them to /login, which then runs a fetch call on the server side and renders the HTML.
The code below is how we make the call in getServerSideProps.
// pages/login.tsx

// This gets called on every request
export async function getServerSideProps() {
    // Fetch data from external API

    const res = await fetch(
        'https://username.stepzen.net/api/random-name/__graphql',
        {
            method: 'POST',
            headers: {
                'Content-Type': 'application/json',
                'Authorization': apikey
            },
            body: graphql
        }
    )

    const data = await res.json()
    // Pass data to the page via props
    return { props: { data } }
  }
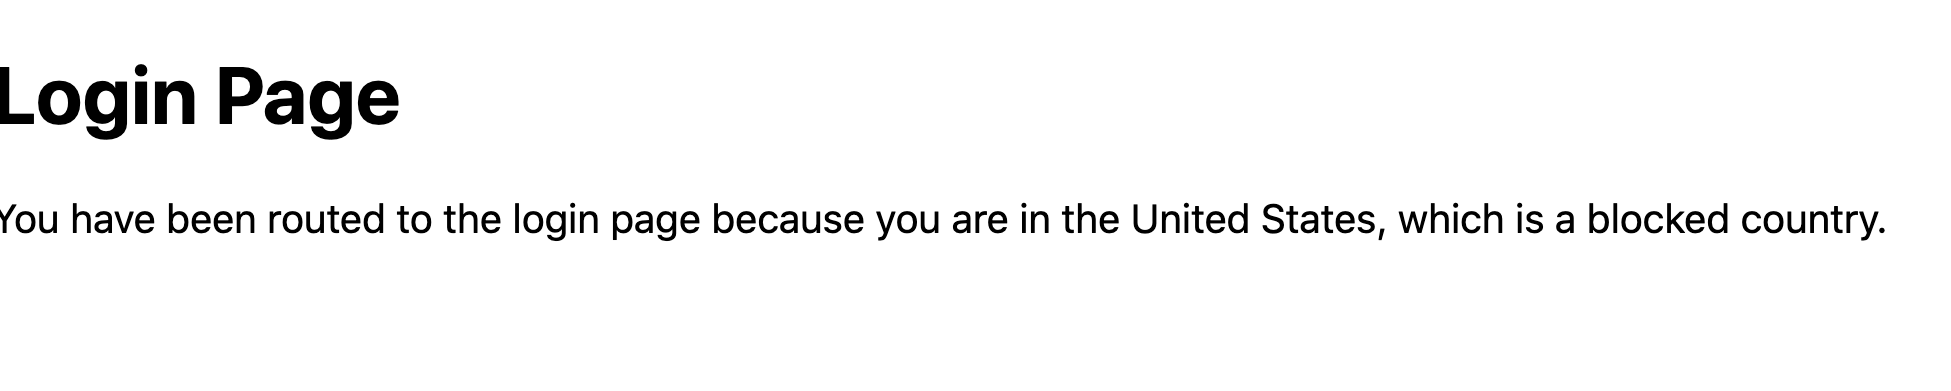
Now, we can render the data in our React component.
// pages/login.tsx
export default function Login({data}) {
    console.log(data)
    return (
      <div>
        <h1>Login Page</h1>
        <p>You have been routed to the login page because you are in the {data.data.WithImplicitIP.country}, which is a country that requires authorization. </p>
      </div>
    );
  }
Now, are blocked users know why they have been re-routed, which smooths out their experience, thanks to the GraphQL call.
Conclusion
In summary, we’ve created a Next.js application with Edge Middleware, quickly created and deployed a GraphQL API, and used that API to customize the result of the middleware routing.
If you’d like, you can use our Next.js sample to get started with your own StepZen/Next.js project. We’ve got more resources on StepZen below, and you can always visit the Next.js documentation for Next.js-related learning.
More Resources:
- StepZen documentation
- StepZen Discord
- StepZen YouTube channel