Building Fullstack eCommerce Apps with RedwoodJS, Shopify, and StepZen

 Anthony Campolo
RedwoodJS is a fullstack, serverless web application framework for building and deploying Jamstack applications. Imagine a React frontend, statically delivered from a CDN, talking via GraphQL to a backend running on AWS Lambdas, all deployable with git push.
StepZen makes it easy to build and deploy a GraphQL backend that you can connect your RedwoodJS site to. It allows you to pull data from any backend including REST APIs and databases and connect them together into a single GraphQL API endpoint.
In this article, we will create and deploy a GraphQL API using StepZen that connects to a Shopify backend and then consume that API in a React frontend built with RedwoodJS and deployed on a static hosting provider. Redwood's api side is auto-configured with a GraphQL handler that can be deployed with serverless functions, enabling secure API routes.
Setup
We'll use Yarn, which is a requirement for RedwoodJS, to create the basic structure of our app.
yarn create redwood-app stepzen-redwood-shopify
This creates a new directory, stepzen-redwood-shopify, containing several subdirectories and files.
Fire it up
Navigate into your project and start the development server.
cd stepzen-redwood-shopify
yarn rw dev
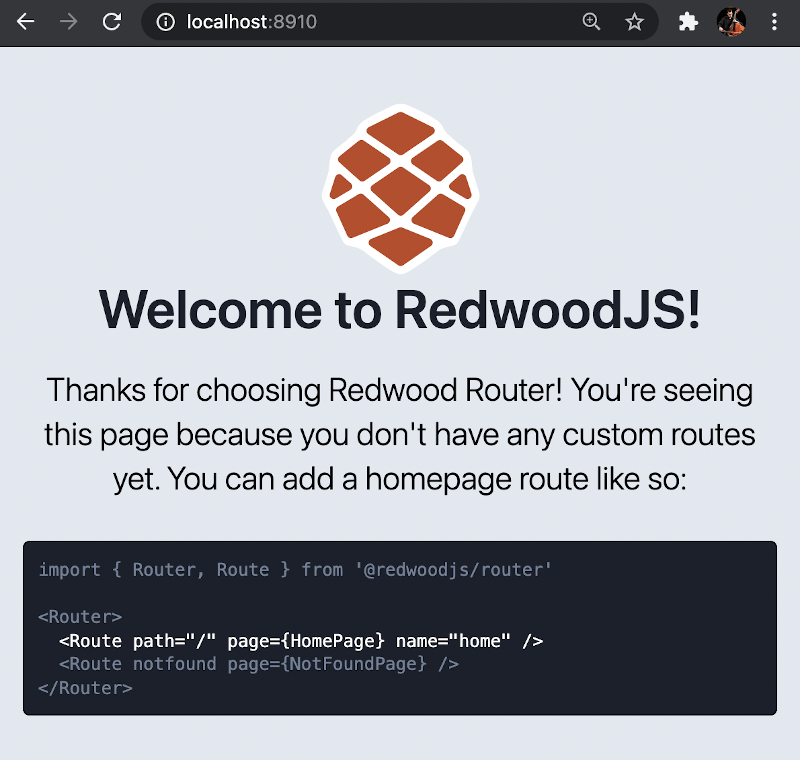
Once the project builds, your browser should automatically open to http://localhost:8910 to show the web app running locally.
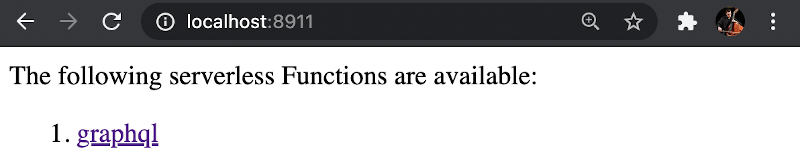
The Lambda functions are running on http://localhost:8911 as well as being proxied to http://localhost:8910/.redwood/functions/*.
Default Project Structure
If you open the project, you should see the following file and folders.
├── api
│   ├── src
│   │   ├── functions
│   │   │   └── graphql.js
│   │   ├── graphql
│   │   ├── lib
│   │   │   └── db.js
│   │   └── services
└── web
    ├── public
    │   ├── README.md
    │   ├── favicon.png
    │   └── robots.txt
    └── src
        ├── components
        ├── layouts
        ├── pages
        │   ├── FatalErrorPage
        │   │   └── FatalErrorPage.js
        │   └── NotFoundPage
        │       └── NotFoundPage.js
        ├── App.js
        ├── Routes.js
        ├── index.css
        └── index.html
StepZen Side
Now let's set up the GraphQL API within StepZen. A StepZen project contains the following files:
index.graphqltells StepZen how to assemble the various type definition files into a complete GraphQL schema.- One or more GraphQL Schema Definition Language (SDL) files ending in
.graphql. config.yamlcontains the keys and other credential information that StepZen needs to access your backend data sources.
To setup our StepZen API, let's create a stepzen directory within our Redwood project's API folder. Within the stepzen folder, create a schema directory.
mkdir api/stepzen api/stepzen/schema
Every StepZen project requires an index.graphql that ties together all of our schemas. Create an index.graphql file for our schema and a products.graphql file for our Product type and Query type.
touch api/stepzen/schema/products.graphql api/stepzen/index.graphql
products.graphql
Let's create a product GraphQL type that will represent a product being returned by the Shopify API. products.graphql will have a Product type and a products query that returns an array of Product objects. Our product type only has a few properties.
# api/stepzen/shopify/products.graphql

type Product {
  id: ID!
  handle: String
  title: String
}
Our products query will be connected to the Shopify REST API using StepZen's custom @rest directive. The @rest directive accepts the URL of the REST endpoint that we'd like to connect it to.
# api/stepzen/shopify/products.graphql

type Query {
  products: [Product]
    @rest(
      resultroot: "products[]"
      endpoint: "https://$api_key:$api_password@$store_name.myshopify.com/admin/api/2020-01/products.json"
      configuration: "shopify_config"
    )
}
Let's look at what each of these configuration properties does:
resultroot- tells StepZen the root of the data in the JSON object returned by the REST API, in this case it is an array of productsproducts[]endpoint- the REST URL you want to call. Values preceeded by the$in this string are replaced by query arguments or configuration properties.configuration- these are the details within theconfig.yamlfile and can include anything you want to pass down to headers (ex. Authorization) and/or stuff that you do not want to write in your SDL.
index.graphql
Our schema in index.graphql ties together all of our other schema files. For this example, we just have the products.graphql file included in our @sdl directive.
# api/stepzen/index.graphql

schema @sdl(files: ["schema/products.graphql"]) {
  query: Query
}
The index.graphql tells StepZen how to assemble the various type definition files into a complete GraphQL schema. The @sdl directive is a StepZen directive that specifies the list of files to assemble. It includes a comma-separated list of .graphql files in your project folder.
config.yaml
The config.yaml contains various configurations that can include the keys and other credential information that StepZen needs to access your backend data sources.
touch api/stepzen/config.yaml
This file should be added to .gitignore as it likely contains secret information.
.idea
.DS_Store
.env
.netlify
.redwood
dev.db
dist
dist-babel
node_modules
yarn-error.log
web/public/mockServiceWorker.js
config.yaml
To connect a Shopify account, we'll need to supply our api_key, api_password, and store_name.
configurationset:
  - configuration:
      name: shopify_config
      api_key: <YOUR_API_KEY>
      api_password: <YOUR_API_PASSWORD>
      store_name: <YOUR_STORE_NAME>
You can get this information in your Shopify account.
Deploy Our StepZen Endpoint
Now that our schema has been created, we can use the StepZen CLI to install it. If you have not already installed and configured the StepZen CLI, you can follow the instructions here.
cd api/stepzen
stepzen start
This will deploy the schema to StepZen, and makes it available on the StepZen dashboard where you can explore the endpoint. It will also watch the directory or changes so that any changes that you make to your schema code will be automatically uploaded and redeployed.
Note that if this is the first time you deployed this schema, you'll be asked to give it a name in the format [folder-name]/[endpoint-name]. We can name our api/shopify. Once the site deploys, take note of the endpoint URL for your GraphQL API. You can get this in the console. It will look like the following:
Deploying to StepZen...... done

Successfully deployed api/shopify at 4:22:19 PM

Your endpoint is available at https://biggs.stepzen.net/api/shopify/__graphql
Query the GraphQL Endpoint
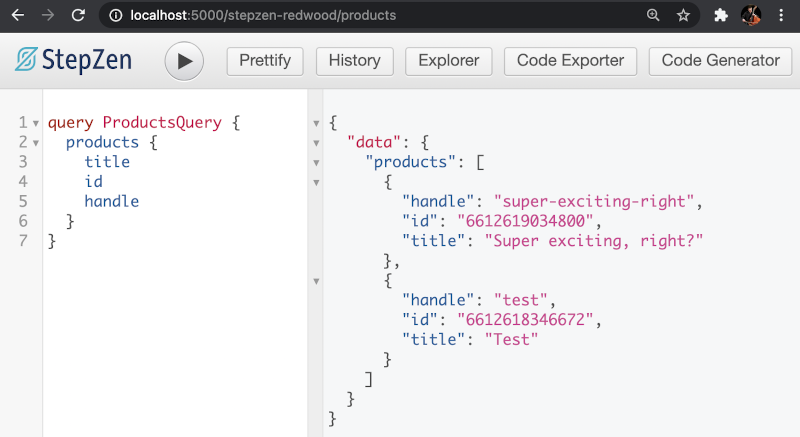
Let's test our GraphQL API by using the GraphQL explorer to query it. The following ProductsQuery returns an array of Product objects with the title, id, and handle for each product.
query ProductsQuery {
  products {
    title
    id
    handle
  }
}
If you've populated some products in Shopify, you should see a query result similar to the following.
The default way to test your GraphQL endpoint is from the StepZen dashboard explorer. You can get a local GraphiQL IDE by running
stepzen startwith the--dashboard=localflag.
Now that we've created our API, we need to connect Redwood with StepZen to get the data into our web app.
The Redwood API Side
The api/src directory contains all the other backend code for a Redwood app and includes four directories:
functionsgraphqllibservices
The functions directory contains a graphql.js file auto-generated by Redwood that is required to use the GraphQL API. Since we will not use the Prisma client or a database that Redwood comes preconfigured for, we can replace the default template with the following code.
// api/src/functions/graphql.js

import {
  createGraphQLHandler,
  makeMergedSchema,
  makeServices,
} from '@redwoodjs/api'

import schemas from 'src/graphql/**/*.{js,ts}'
import services from 'src/services/**/*.{js,ts}'

export const handler = createGraphQLHandler({
  schema: makeMergedSchema({
    schemas,
    services: makeServices({ services }),
  }),
})
products.sdl.js
The graphql directory contains products.sdl.js with your GraphQL schema written in the Schema Definition Language. This will ensure that our Redwood API will have a schema that matches our schema in products.graphql.
touch api/src/graphql/products.sdl.js
The schema includes a Product type, and each Product has an id, handle, and title just like our StepZen schema. The products query returns an array of Product objects.
// api/src/graphql/products.sdl.js

export const schema = gql`
  type Product {
    id: ID
    handle: String
    title: String
  }

  type Query {
    products: [Product]
  }
`
client.js
The lib directory contains two files by default:
db.jsfor importing the Prisma clientlogger.jsfor using the Redwood logger
While Redwood's web side includes Apollo Client by default, its api side does not include any built in mechanism for making HTTP requests. There are two common solutions to this for Redwood applications.
- The first solution, demonstrated in the Redwood documentation, includes using
node-fetch. - We will follow the model of numerous community projects that have used
graphql-requestto connect to services such as Contentful, AppSync, Hasura, and FaunaDB.
First, we need to install graphql-request as a dependency on the api side.
yarn workspace api add graphql-request
Since we will not be using the Prisma Client we can rename db.js to client.js and include the following code. This code uses graphql-request to connect to StepZen and pass our StepZen API key in the headers and the query being sent to the API.
// api/src/lib/client.js

import { GraphQLClient } from 'graphql-request'

export const request = async (query = {}) => {
  const endpoint = process.env.API_ENDPOINT

  const graphQLClient = new GraphQLClient(endpoint, {
    headers: {
      authorization: 'apikey ' + process.env.API_KEY,
    },
  })
  try {
    return await graphQLClient.request(query)
  } catch (err) {
    console.log(err)
    return err
  }
}
endpointis set to the url generated when we deployed our API withstepzen start.authorizationincludes your StepZen API key appended toapikey. You can get your API key on your dashboard page.
Create .env file
Let's create the .env file that will contain our StepZen API key and endpoint URL.
touch .env
API_ENDPOINT=<YOUR_API_ENDPOINT>
API_KEY=<YOUR_API_KEY>
products.js
In the services directory we will create a products directory with a products.js service. This file will be the one that sends the GraphQL query to our API.
mkdir api/src/services/products
touch api/src/services/products/products.js
We will include code for querying data with GraphQL.
// api/src/services/products/products.js

import { request } from 'src/lib/client'
import { gql } from 'graphql-request'

export const products = async () => {
  const GET_PRODUCTS_QUERY = gql`
    query getProducts {
      products {
        title
        id
        handle
      }
    }
  `

  const data = await request(GET_PRODUCTS_QUERY)

  return data['products']
}
GET_PRODUCTS_QUERY is sent with the GraphQLClient imported from src/lib/client. The query is asking for the list of products and their title, id, and handle.
The Redwood Web Side
Now that the API and query are set up, we need to connect the web interface to display the returned data. The web side contains a ProductsCell for fetching products and a HomePage for rendering the cell.
ProductsCell
We can use yarn to create the ProductsCell.js file.
yarn rw g cell products
ProductsQuery returns the id, title, and handle of each Product. This will send the query to our api side, which in turn sends a query to our StepZen API. Once the results are returned, they will be output on the page (we've also added some very basic handling of the loading, empty and failure states).
// web/src/components/ProductsCell/ProductsCell.js

export const QUERY = gql`
  query ProductsQuery {
    products {
      id
      title
      handle
    }
  }
`

export const Loading = () => <div>Almost there...</div>
export const Empty = () => <div>WE NEED PRODUCTS</div>
export const Failure = ({ error }) => <div>{error.message}</div>

export const Success = ({ products }) => {
  return (
    <ul>
      {products.map((product) => (
        <li>{product.title}</li>
      ))}
    </ul>
  )
}
HomePage
Finally, let's create the home page.
yarn rw g page home /
All we need to do in this file is import ProductsCell to display the information fetched by the cell's query.
// web/src/pages/HomePage/HomePage.js
import ProductsCell from 'src/components/ProductsCell'
const HomePage = () => {
return (
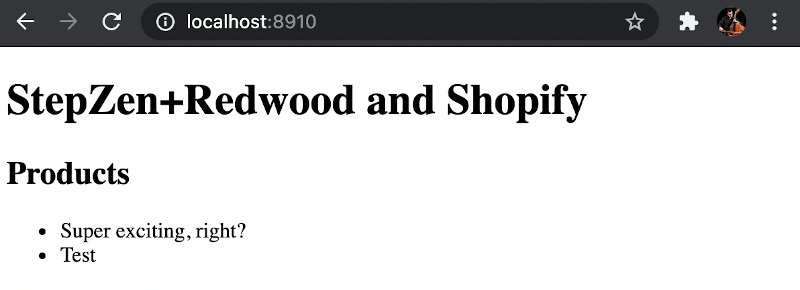
<>
<h1>StepZen+Redwood and Shopify</h1>
<h2>Products</h2>
<ProductsCell />
</>
)
}
export default HomePage
Finished Project Structure
├── api
│   ├── src
│   │   ├── functions
│   │   │   └── graphql.js
│   │   ├── graphql
│   │   │   └── products.sdl.js
│   │   ├── lib
│   │   │   └── client.js
│   │   └── services
│   │       └── products
│   │           └── products.js
│   └── stepzen
│       ├── shopify
│       │   └── products.graphql
│       └── index.graphql
└── web
    ├── public
    │   ├── README.md
    │   ├── favicon.png
    │   └── robots.txt
    └── src
        ├── components
        │   └── ProductsCell
        │       ├── ProductsCell.js
        │       ├── ProductsCell.mock.js
        │       ├── ProductsCell.stories.js
        │       └── ProductsCell.test.js
        ├── layouts
        ├── pages
        │   ├── FatalErrorPage
        │   │   └── FatalErrorPage.js
        │   ├── HomePage
        │   │   └── HomePage.js
        │   └── NotFoundPage
        │       └── NotFoundPage.js
        ├── App.js
        ├── Routes.js
        ├── index.css
        └── index.html
Deploy to Netlify
Redwood provides helpful setup commands to deploy to various hosting providers. We will deploy our project with Netlify.
- Depending on your needs you can configure your project to be deploy on Vercel, Render, or Heroku.
- If you're particularly adventurous and enjoy configuring Linux servers you can even host it yourself with PM2 and Nginx.
- If you're a little less adventurous but still want some servers in your life you can run a Docker container with Dokku.
Setup command
The following command will generate the configuration file needed to deploy to Netlify.
yarn rw setup deploy netlify
This generates the following netlify.toml file:
[build]
  command = "yarn rw deploy netlify"
  publish = "web/dist"
  functions = "api/dist/functions"

[dev]
  command = "yarn rw dev"

[[redirects]]
  from = "/*"
  to = "/index.html"
  status = 200
This lets Netlify know that:
- Your
buildcommand isyarn rw deploy netlify - The
publishdirectory for your assets isweb/dist - Your
functionswill be inapi/dist/functions
All that's left to do is push the project to a repository like GitHub and connect that to your Netlify account. Netlify will build and deploy the project for you using the settings provided.
Where to Go From Here
Our example was purposefully simple, but the next steps would be to build out a more complete Shopify schema and deploy it to StepZen to get all the data that Shopify provides. We'd also want to build a more complete frontend to display our products. If you'd like to learn more about StepZen and how to build a schema, visit the StepZen docs. To learn more about how to configure Redwood and build the frontend, visit the Redwood docs.
You can find more example repositories at the StepZen Github. If you're not already signed up for StepZen, you can sign up here.